Description
- Construct Airflow celery cluster with redis, n workers and jupyter-lab using docker-compose.
- Get experience of scheduling airflow dag.
Introduction
(1) You’re recommended to use machine with 16GB memory or above. Also, you need linux shell environment with docker and docker-compose V2 installed. (I worked with MacOS system)
(2) Docker images are based on RedHat linux (CentOS 8) with bash shell, which is similar to real-world servers. Open-source versions are like below.
- mariadb 10.5
- airflow 2.1.0
- redis latest
- python 3.8
(3) All files related to this practice are in my github. If you’re used to Dockerfile, you can revise the image with Dockerfile in github.
https://github.com/hjben/docker
Sub-folders related on: airflow, redis jupyter-lab
(4) This practice uses shell script files in folder named by docker-script, where are sub-folder of each folder in github. This shell files get some parameter from user, and then constructs cluster and executes some files needed. docker-compose.yml file also be generated automatically in same path, and deleted when the docker-compose is down.
(5) The docker images are in my docker hub. You can download them with docker pull command.
https://hub.docker.com/search?q=hjben&type=image
(6) If you have any problems, questions or bugs when using codes, just contact me.
Docker container construction
1. Download docker image
The version of image maybe changed up, with update of the open-source version.
docker pull hjben/airflow:2.1.0
docker pull hjben/jupyter-lab:latest
docker pull hjben/redis:latest
docker pull hjben/mariadb:11.3
2. Generate docker container.
(1) Download the shell script in airflow/docker-script folder at the github and move them to the path where docker commands are available.
(2) With ./compose-up.sh command, docker network and containers are generated. parameters must be entered behind the command with one blank (space-bar) and arranged by the order below. The command will not be executed when lack of number of parameters or wrong input type detected.
- airflow_version: Version of airflow (2.1.0 is available now)
- (The # of) workers: The number of airflow celery worker (integer between 1 and 5)
- dag_path: Host path for saving airflow dag (also used as jupyter lab workspace data)
- log_path: Host path for saving airflow log
- airflow_user: User of airflow web (admin is recommended)
- airflow_password: Password of airflow web (admin is recommended)
- mariaDB_root_password: Root password of mariaDB (mariadb is recommended)
- mariaDB_data_path: Host path for saving mariaDB data
e.g.
./compose-up.sh 2.1.0 2 /Users/Shared/workspace/docker-ws/airflow-notebook /tmp/airflow_logs admin admin mariadb /Users/Shared/workspace/docker-ws/maria-data
(3) If you create airflow containers, initialization of metaDB and user will be done automatically. When the metaDB initialization is on progress, shell asks to you the root password of mariaDB. Then you may pass on mariaDB root password (maybe mariadb) to the shell. Redis server will be executed after initialization with foreground process and it occupies the CLI used before.
(4) There are volumes mounted on host path in each container for logs or data backup. This volumes are used for keep the data when docker containers are broken. Host path must be set with compatibility of your test environment, through some parameters of ./compose-up.sh command. The host paths you’ll use are be made by yourself, preparing when they may not be automatically generated on the host.
(5) Execute ./compose-down.sh command if you want to destroy all containers.
(6) ./compose-up.sh command may mis-correct the generated docker-compose.yml file constructing another containers without compose-down command. So if you want to change the number of hadoop slaves, you’re recommended to run ./compose-down.sh first.
Airflow
1. Execute airflow
(1) Open a new CLI(=shell) as much as the # of workers plus 3 (e.g. 5 CLIs). The reason of multi-opening is each airflow service will be started as foreground process.
(2) Next, start airflow service module with ./airflow-start.sh {service} command in each CLI. One execution for webserver, scheduler, flower and the number of workers for worker. The parameter of airflow-start.sh file is service type. There’re 4 types like below. If executing worker service, you have to the number of worker also be provided as parameter.
- webserver: airflow web ui
- scheduler: core scheduler
- flower: flower worker manager
- worker {# of worker}: worker #
./airflow-start.sh webserver
./airflow-start.sh scheduler
./airflow-start.sh flower
./airflow-start.sh worker 1
./airflow-start.sh worker 2
...
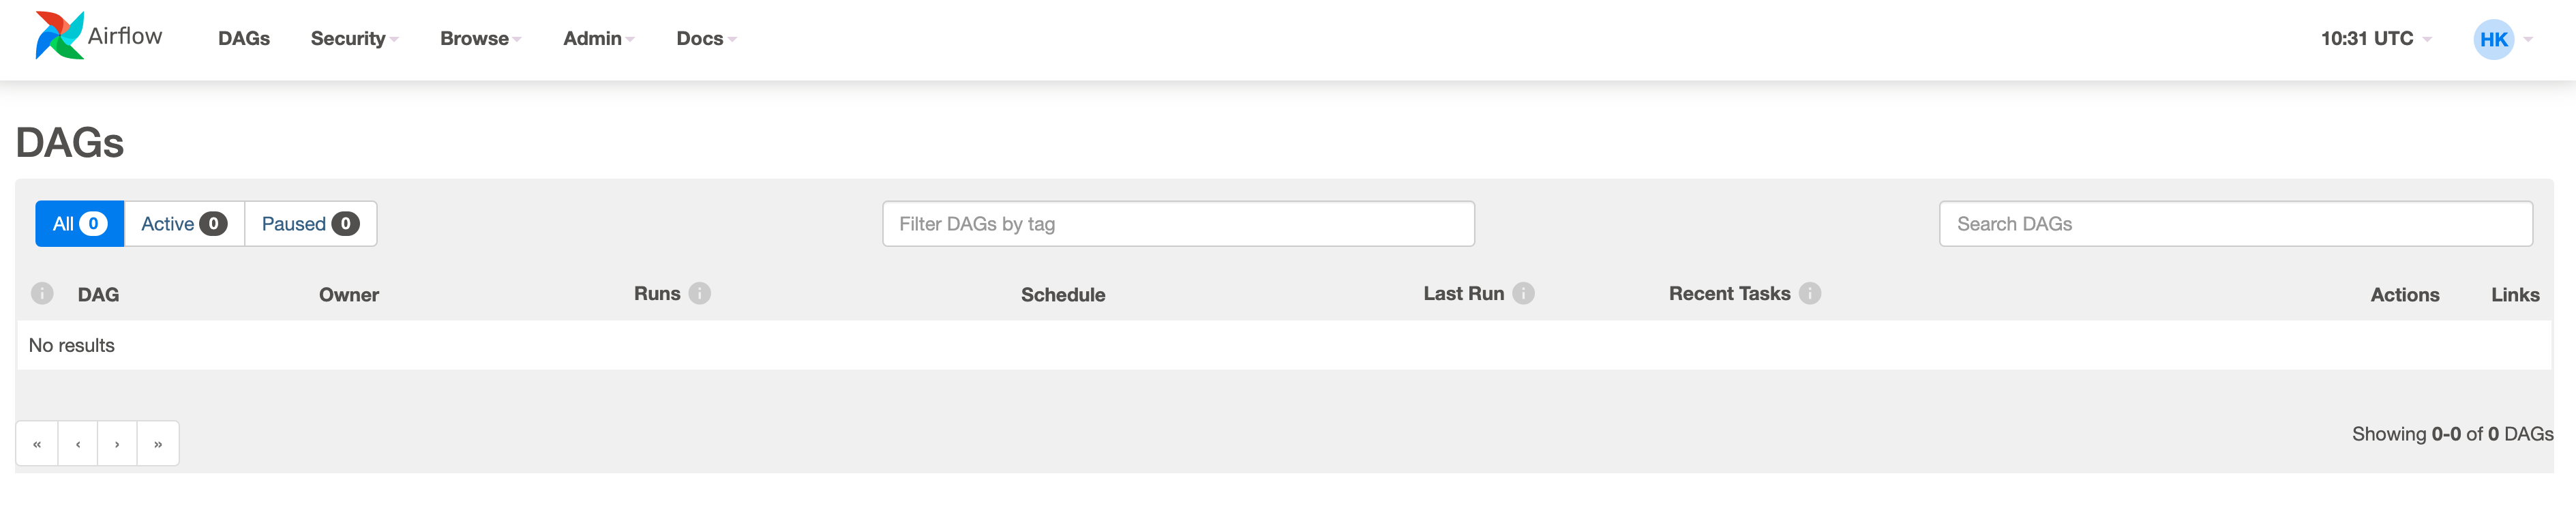
(3) After all airflow service modules are started, connect to airflow web ui. The address of airflow web ui is localhost:28080, ID/PW are known as you entered (maybe admin/admin) when making the airflow container generation. If login, you could see a page like below.
2. Execute jupyter lab
(1) Airflow dag file is composed of python code, and the workflow would be scheduled as contents in the dag file. We’ll use jupyter lab service for easy management of dag files.
(2) Dag folder in airflow container and workspace folder in jupyter lab has same host volume mount. Therefore if you upload to jupyter, then a .py file will be mirrored to airflow web ui automatically (about.. a minute later).
(3) Open a new CLI(=shell) at host to start jupyter lab. Then, move into the path docker scripts are in.
(4) Enter /jupyter-start.sh command to run jupyter lab.
(5) Copy the URL in the console and access the jupyter lab service. Copy and Paste the address started with 127.0.0.1 to your web browser. Token is changing value every time you run.
e.g.
http://127.0.0.1:8888/lab?token=e76b79faeabb826699a80166e39c5627390923dc24e053aa
3. Test dags
(1) The sample data and code is able to use after unzipping the attached file and uploading jupyter lab.
(2) Using the sample code in this zip file, you can test simple dag workflow.
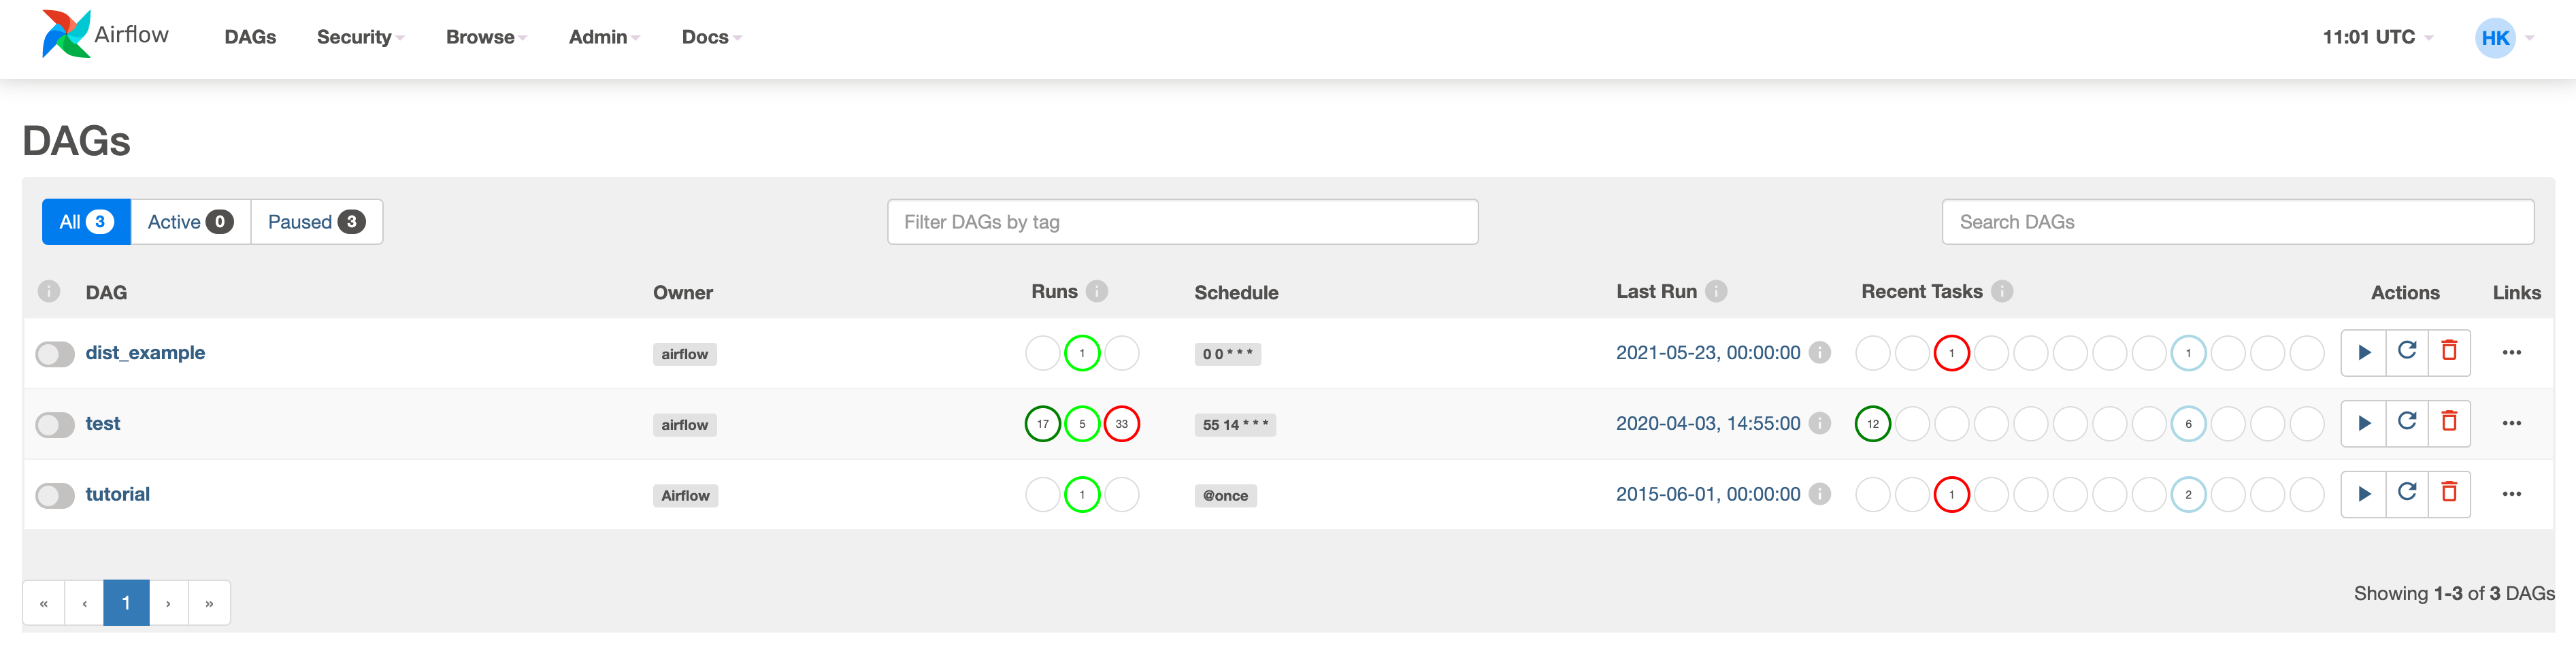
(3) If all sample file is uploaded, there’re 3 dags exposed in the web.
(4) The second dag test is a dag with printing datetime in very short term. It could be found log is generated quickly in the worker shell if you switch the trigger button on (in left of the dag).
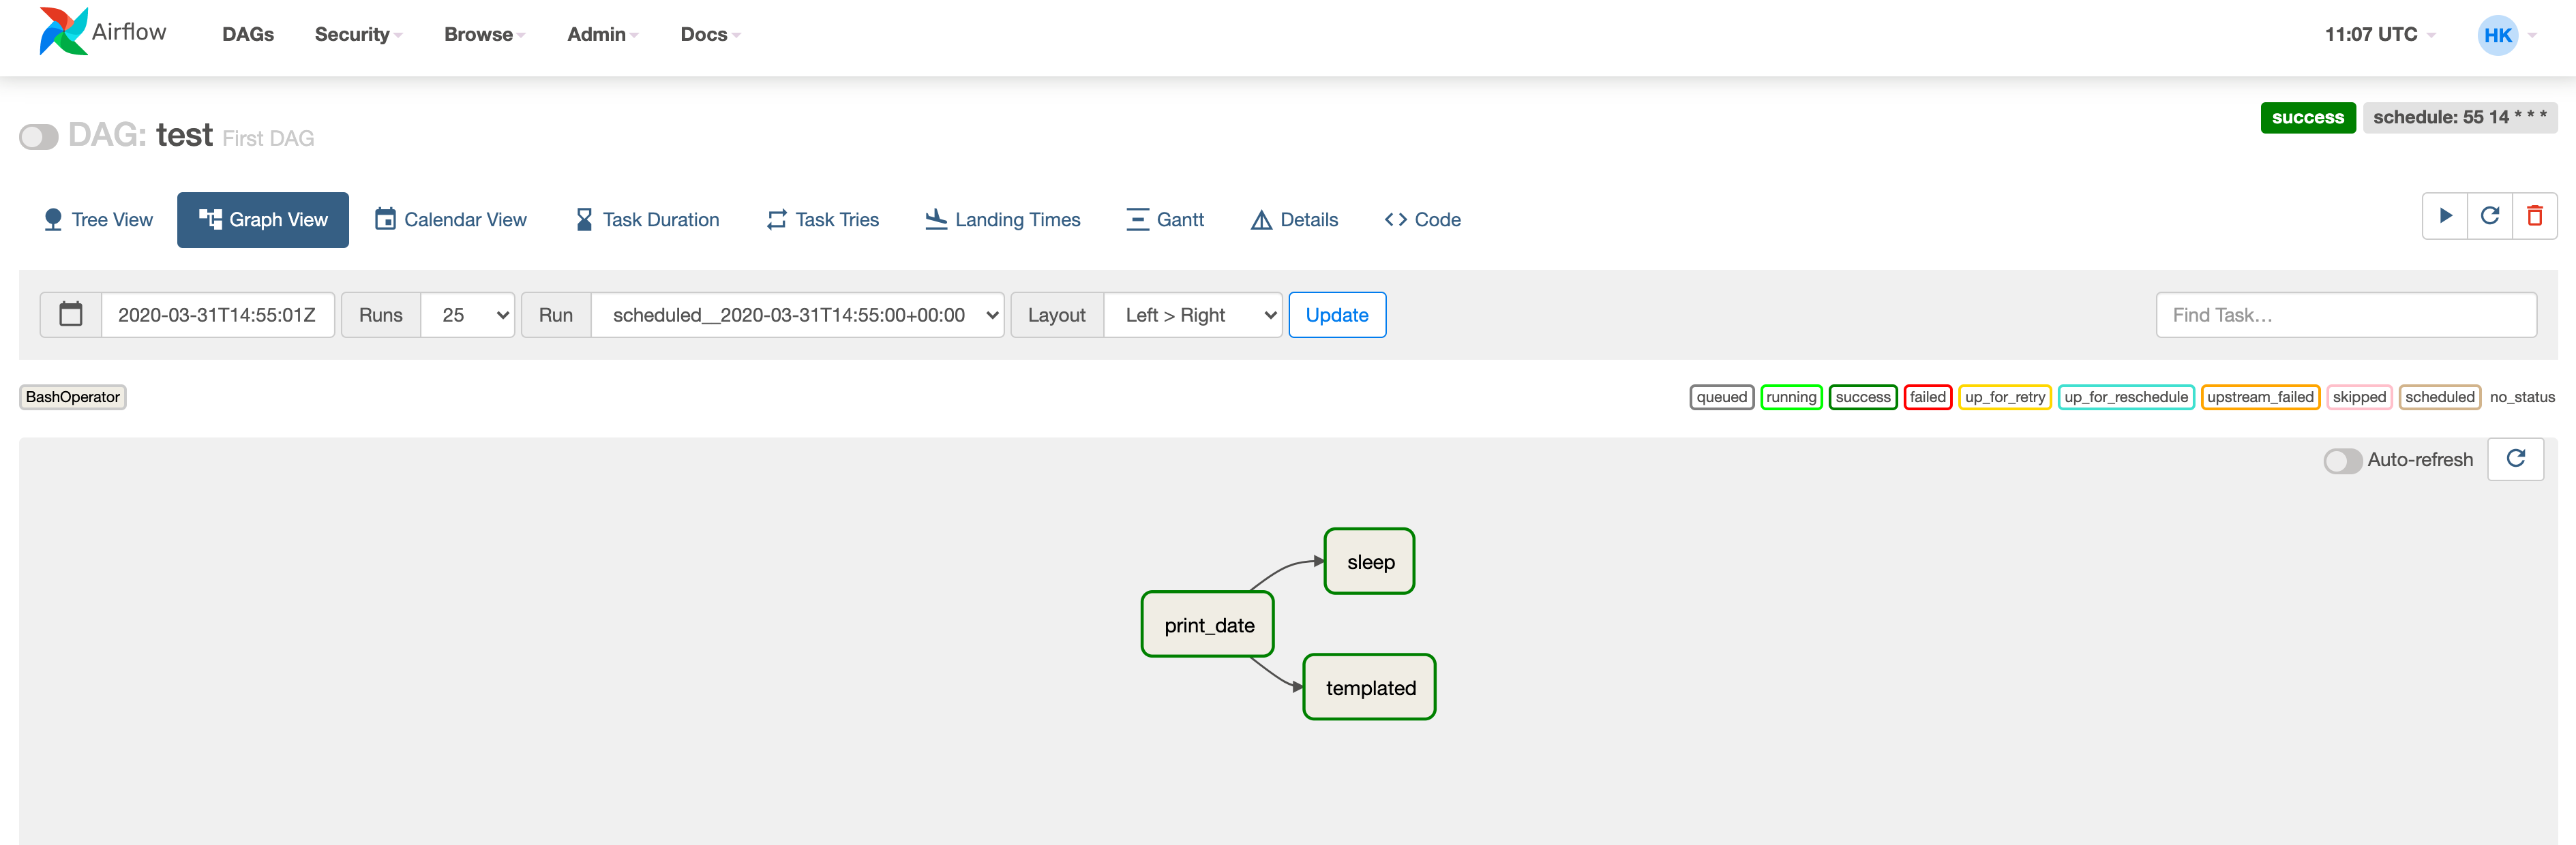
(5) Clicking the each dags, you could check the workflow’s graph, success or fail, logs, etc. easily.